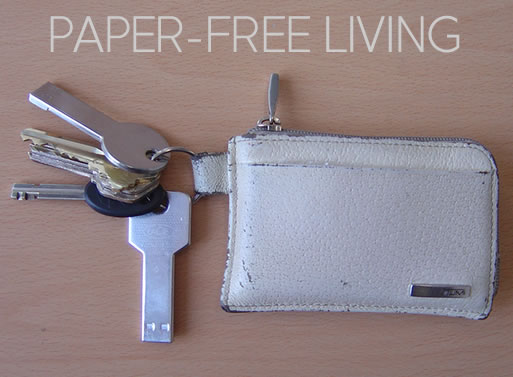
About three years ago I decided to make the switch from paper files to paper-free living. It satisfies my desire for minimalism, allows me to put my finger on a document with a few clicks if I need it, and it helps me keep clutter down!
True story: When I was buying a home, my mortgage broker asked me for the last 2 years of bank statements, pay stubs, and tax returns. When I emailed her all 78 of those documents 5 minutes later, she was beyond stunned.
Ready to whip your record-keeping into shape? Here’s how I started:
Tools:
Optional:
1. Process the Action Items Folder
To start, I put all active paperwork in the zipper mesh folder I call my “Action Items Folder”. This folder is for all paperwork that needs to be “processed”, i.e., checks which need to be deposited, bills to pay, receipts to scan, etc. I process my Action Items Folder at least once a week and it takes about 5-10 minutes total. At the end of each transaction, I scan the document and put in my Pending Folder on Dropbox, putting the physical copy in my shred box.

2. Process the Pending Folder
Once or twice a month I spend about 15-30 minutes processing the Pending Folder. Here’s my process: I unlock the encrypted drive on my Kingston Key, and open the folder side by side with my Pending Folder on Dropbox. I open the first document in the Pending Folder and name it according to date using a reverse-date naming convention (2011-03-05.pdf) for instant file organization. Once it’s named, I drag the file over to the encrypted directory, adding folders when necessary. I delete the original from Dropbox and proceed to the next file.

Building file structure: I started with broad categories, such as “Auto”, “Bills”, “Financial” and “Personal.” As I drag each file over to the encrypted folder, I add additional folders to sort by company name, document type and year.
When you’re done processing the batch, save and encrypt the file on your Kingston Key drive, then save an additional copy to your Dropbox and another to your computer so you’ve got the most recent encrypted file in 3 locations. This kind of redundancy is crucial for your entire financial history! Now that you have it backed up it’s safe to shred the contents of your shred box.
3. Collect past files and digitize
Once I got into a rhythm with steps 1 and 2, I was ready to tackle my mountain of old paperwork. This may sound like an overwhelming process, but I worked in small batches and it actually wasn’t too bad. I scanned about 20 documents at a time and put directly in the Pending Folder to process later. Important: As soon as you scan the documents, put directly in your shred box to avoid double-handling documents.
Remember that your files don’t need to be in any particular order because the naming process and file structure will automatically organize them for you.
Repeat steps 1-3.

Tips for staying on top of paperwork
Update: I’ve had a couple questions from readers about what the IRS thinks about electronic files. Short answer, they’re totally okay with it. (It’s actually better than thermal paper receipts, which fade over time.)
You can read the tax code here if you have nothing better to do with your day:
Recordkeeping for Individuals or
Recordkeeping for Businesses (See page 15 under “Electronic Storage System.” which references Rev. Proc. 97–2.)
Tags: minimalism, paper-free


